Getting started
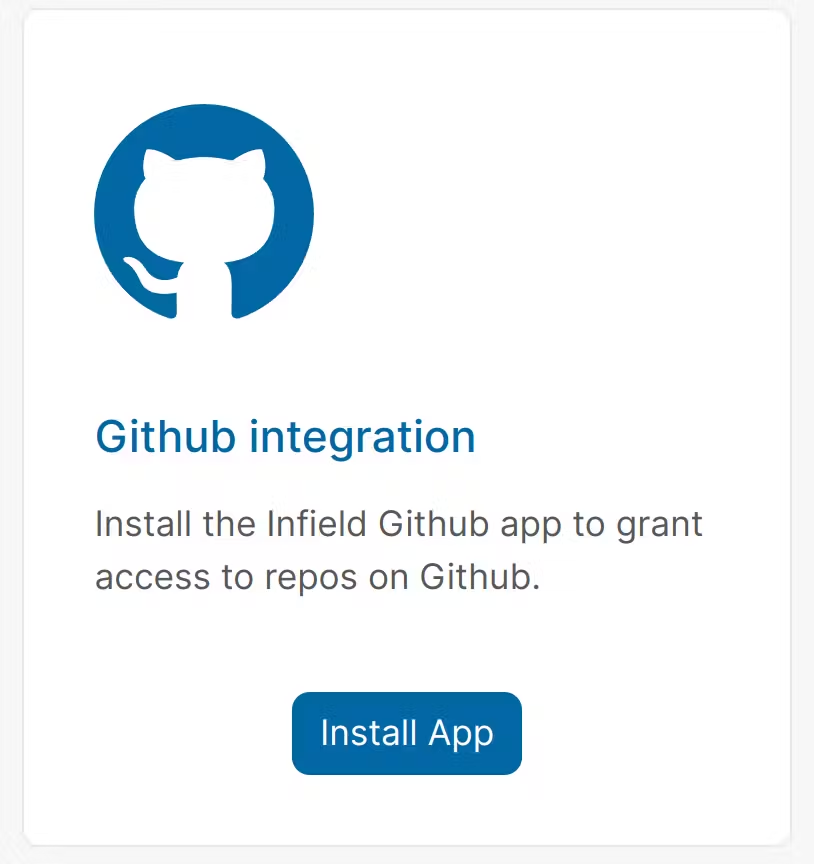
Installing the Infield Github app is the quickest way to get started.
Sign up for an Infield account at https://app.infield.ai/users/sign_up. Choose Sign up with Github if you want to use the Infield GitHub app.
Add your first Repo
You'll need to sync your Repos to use Infield. We recommend installing our GitHub app, which will automatically sync your dependencies and keep them up to date every time you push to your primary branch. If you don't use GitHub or want to try Infield without installing the app you can instead create a repo manually and upload your manifest files. Generally, Infield needs a lock file in order to know the precise versions of all the dependencies your project relies on. For Ruby projects this would be a gemfile.lock file, for Python projects this would be a poetry.lock file, etc.
Note: Currently Infield only supports projects written in Python (via poetry), Ruby (via bundler), and Javascript (via npm).
Automatically sync with GitHub
Click “Install App” from within Infield (or just go to https://github.com/apps/infieldai). Choose the organization and repos you’d like to set up with Infield. You can visit that installation URL multiple times if you’d like to set up Infield on multiple organizations.
Upload manually
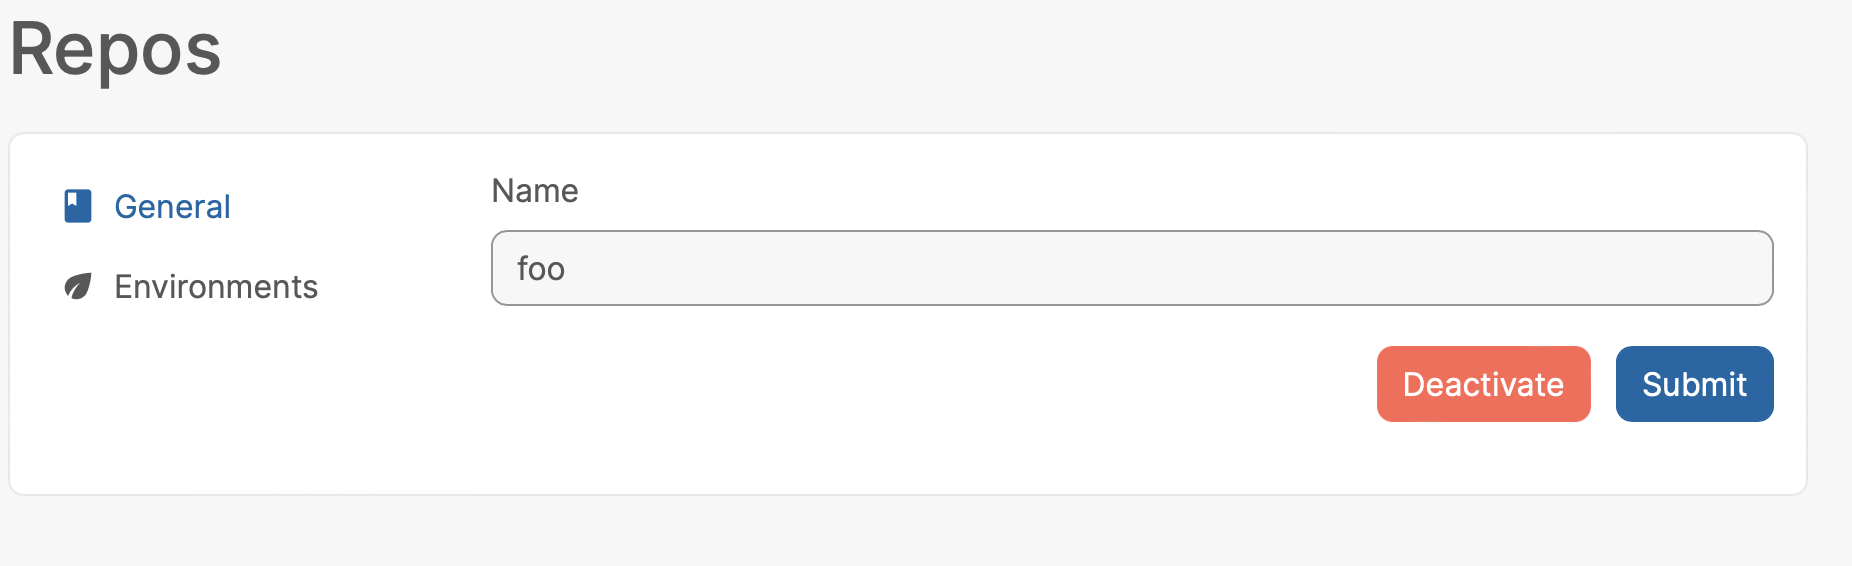
Click “Add Repo” from https://app.infield.ai/repos/add and input the repo name, the manifest file, and the lock file.
First, insert the name of the repo:
Next, set your repo environment by choosing your language (e.g. JavaScript) and uploading your manifest file and lock file.
If you add a repo manually, Infield will not by default automatically update every time your manifest or lock file changes. You will need to upload new files and click Update order for Infield to know that your dependencies and dependency versions have changed.
Updated about 1 year ago
What’s Next
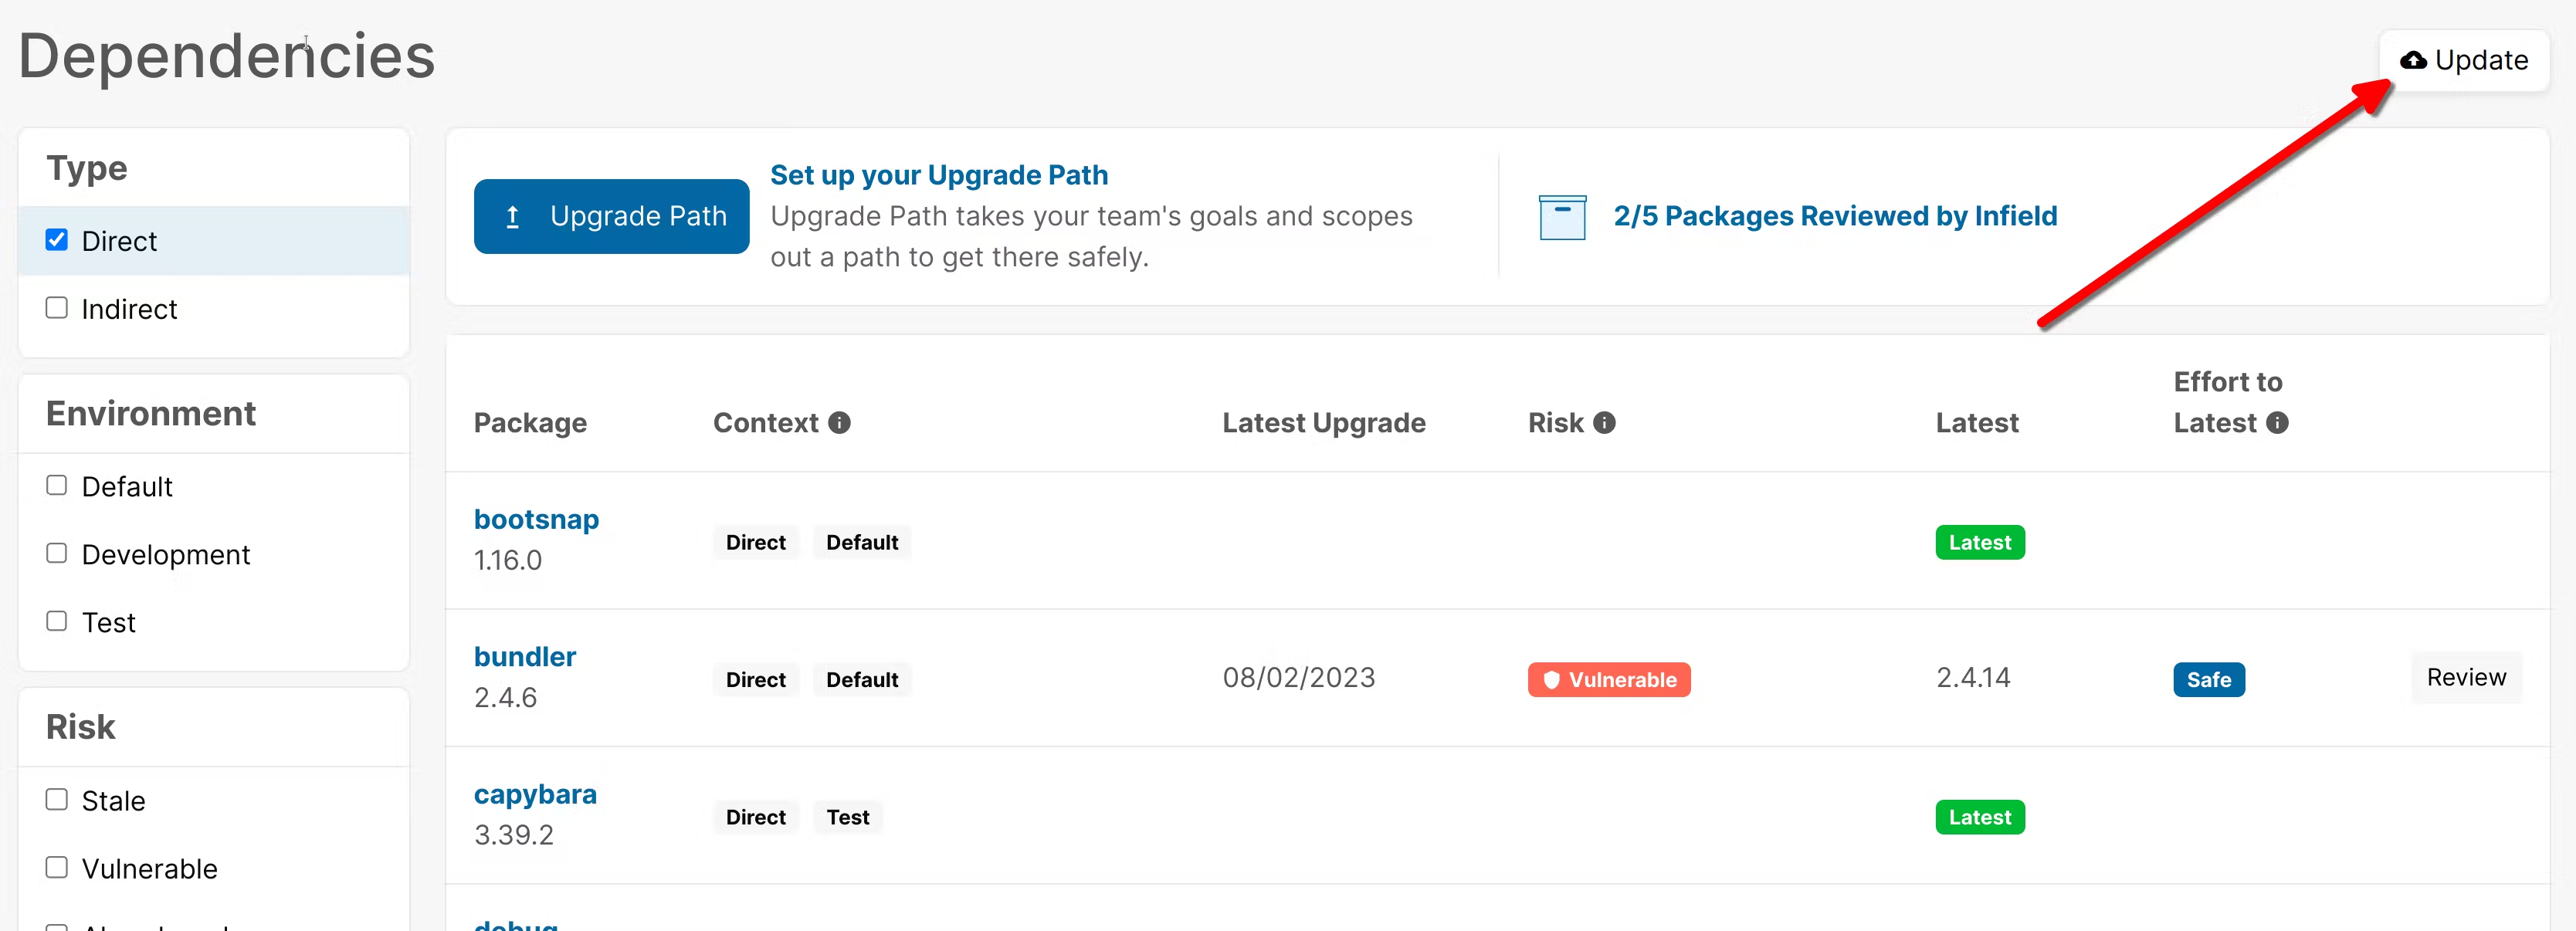
After you've installed the Github app, check out how to create an Upgrade Path.